I have a very modest watch collection, and my wife also has a couple of watches. Over the last few years, I returned to wearing non-smartwatches more and more.
Naturally, I was not happy with my watches lying in the cupboard where we forget about their existence and hence seldom wear them.
In an attempt to solve this, I went ahead and bought the most basic watch box from Amazon for 15GBP.
It did the trick - both me and my wife started to wear our watches more often, admire and enjoy them more. Definitely a positive change.
However, I was not satisfied with the box itself - it was not even made of wood, not even veneered, just a cheap imitation like faux leather of sorts.
I enjoy woodworking quite a bit. Mostly in my modeller’s capacity, but I dabble in some real woodworking and wanted to do it more.
Because the things I do professionally are all in the digital world, I find great pleasure and satisfaction in working with my hands, preferably with hand tools only.
Adding two and two, I found myself with a perfect beginner woodworker project on my hands.
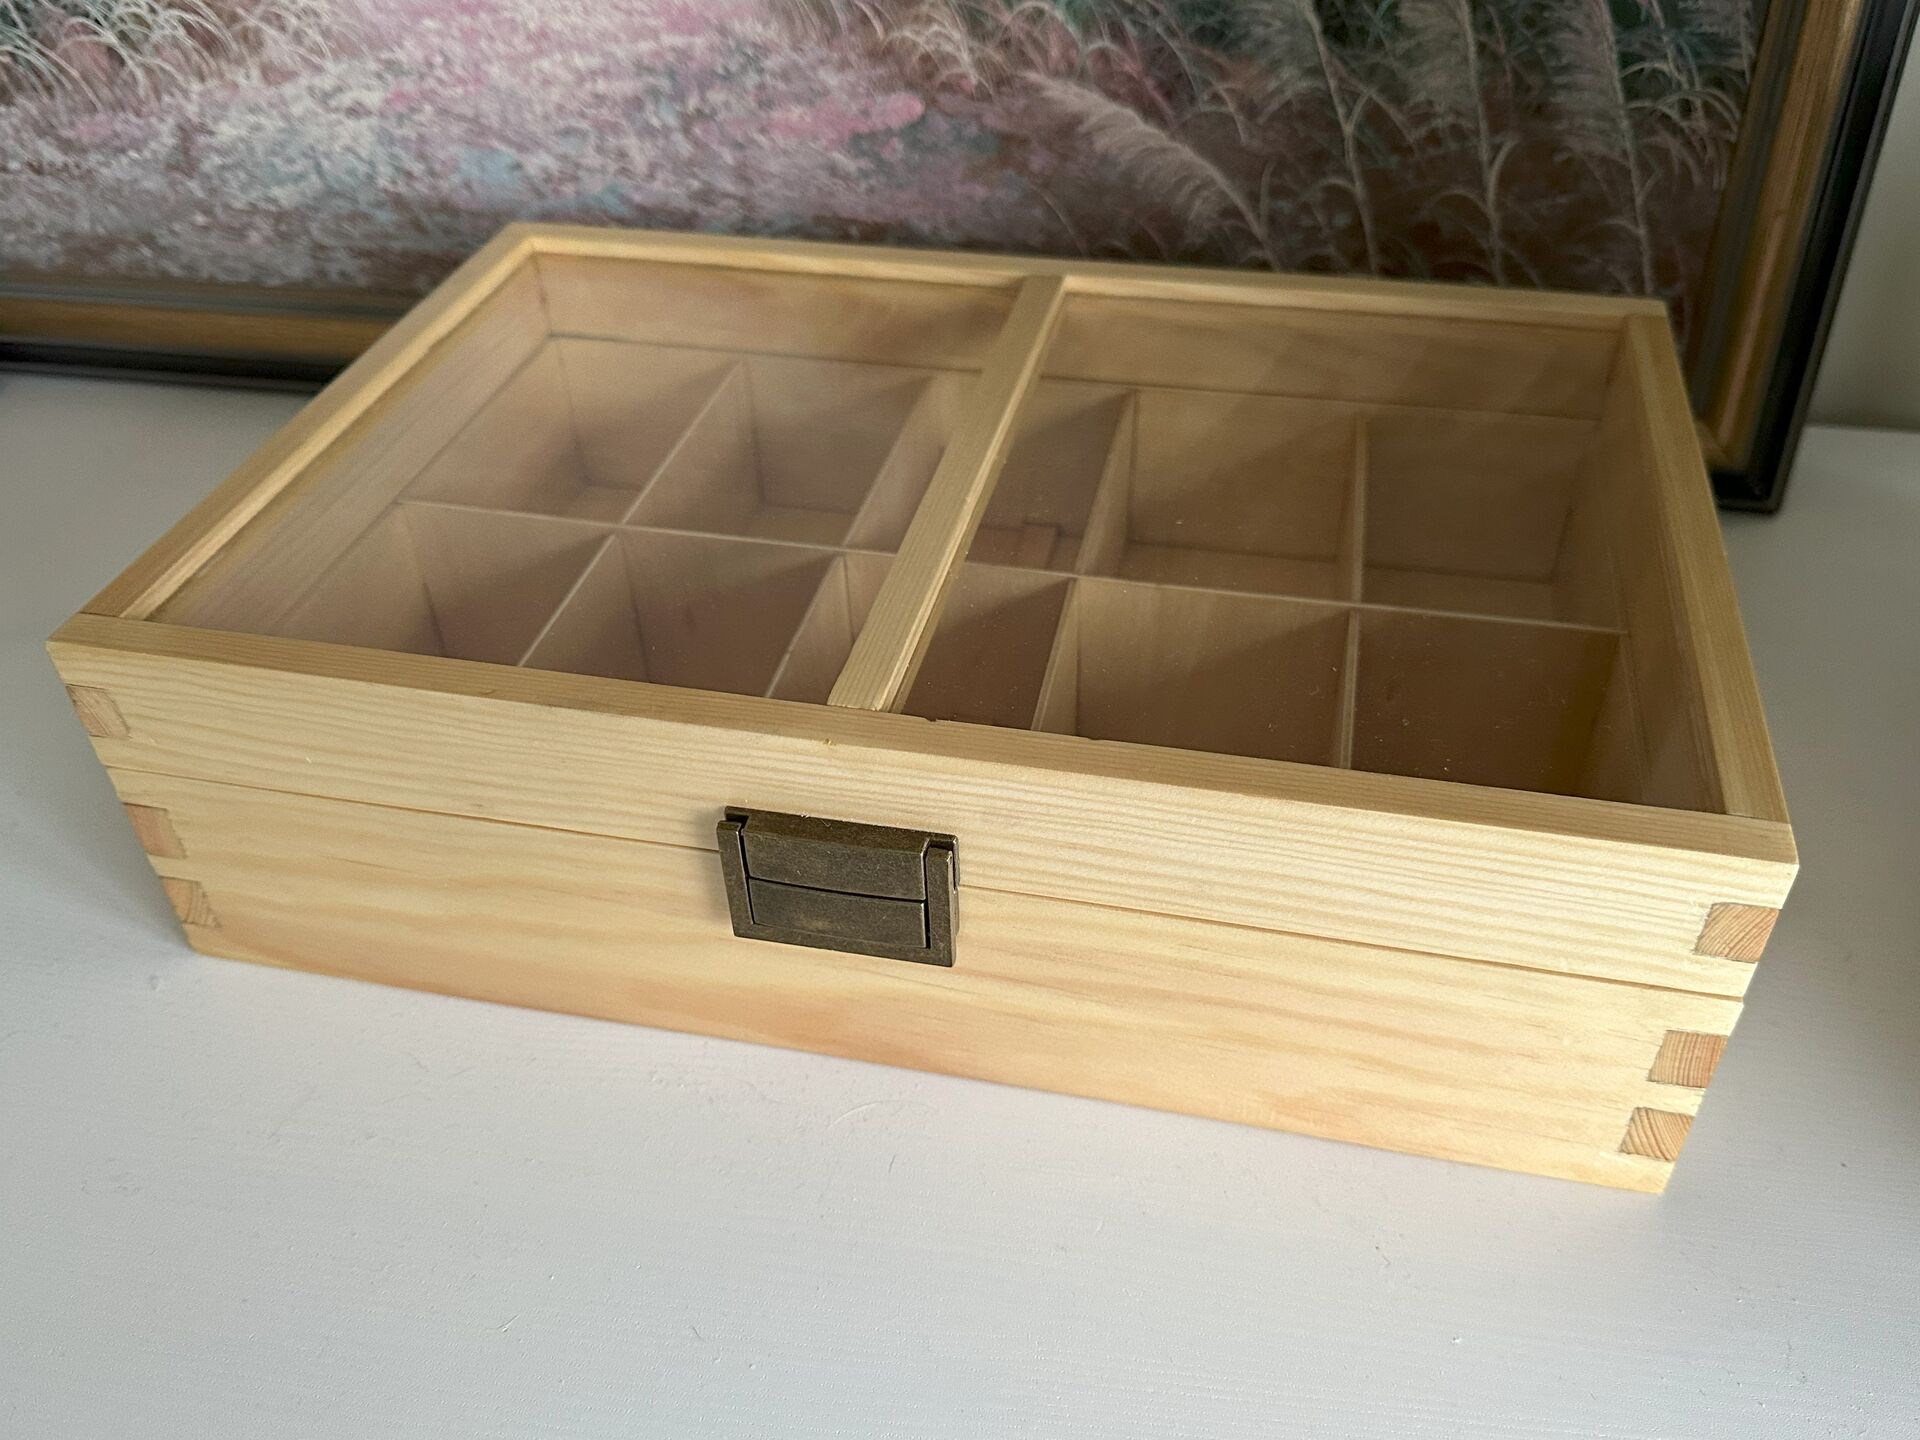
The goal I set for myself was to simply make a box re-using the existing fixtures, have some fun and get real woodworking experience.
Since I already had a functional watch box, I could simply take measurements of the required individual slots for the cushioned watches.
With those measurements on hand, I went to the local hardware store (Woodie’s), and bought pine strip wood of the appropriate dimensions (in my case, 11 mm x 90 mm x 900 mm). Without any power tools, ripping and planing my own planks would be impractical, and that pine wood was already ‘squared’.
Of course, real life intervened, and the wood waited a couple of months until I found the time and energy for such a project.
Thankfully, I had a few days of PTO lined up after Christmas, and even managed to use some of them for woodworking.
Day 1
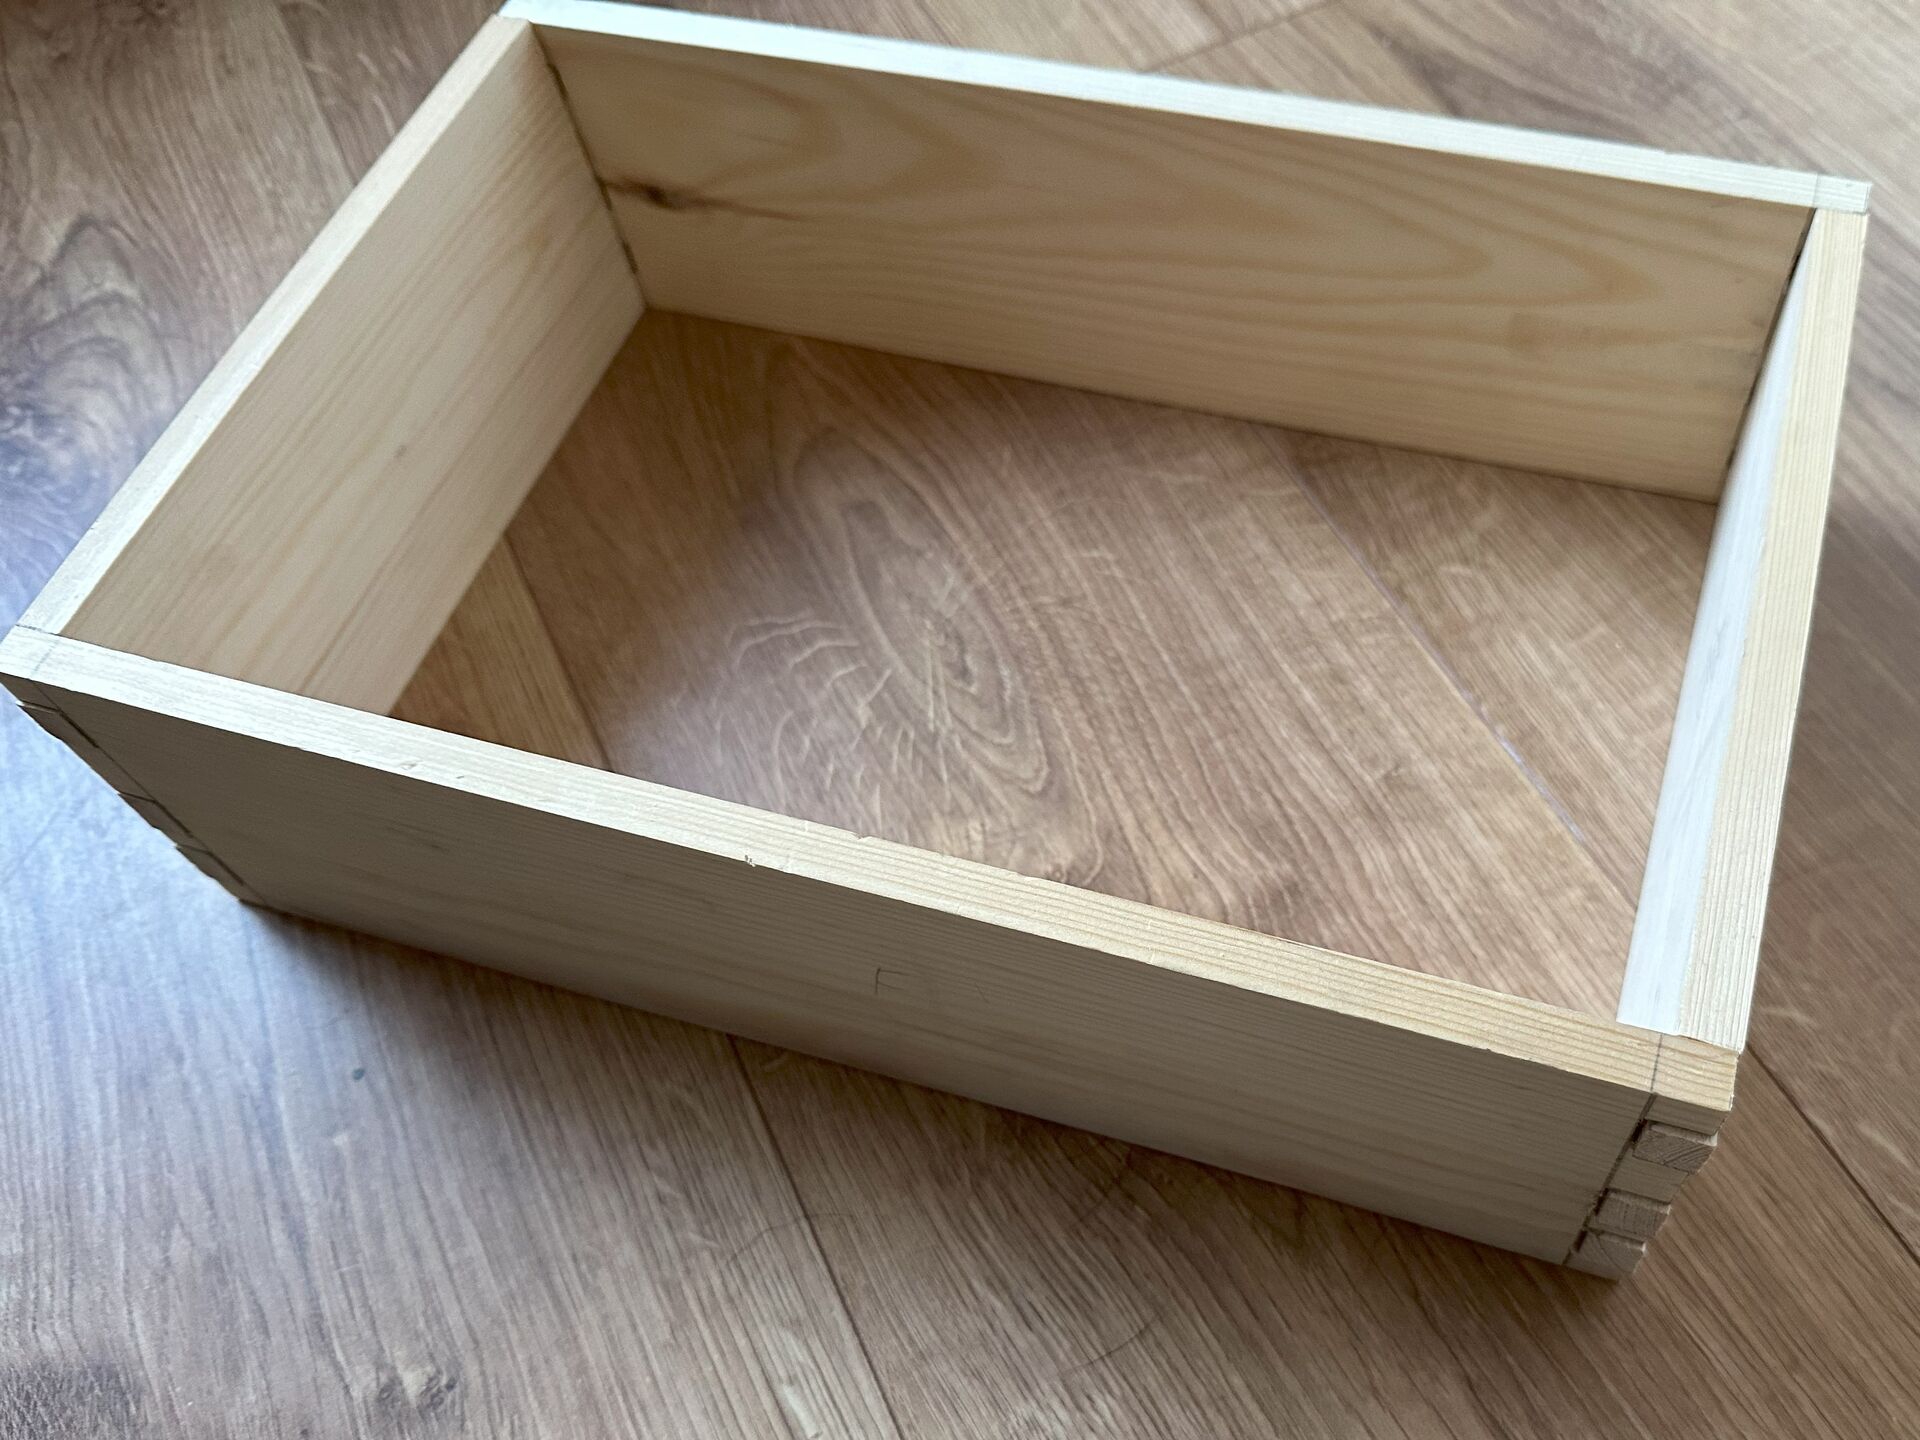
I really wanted to practice the real joinery, so decided to use dovetails in the design of this box.
Thanks to the excellent “Collins Complete Woodworker’s Manual” book, I knew exactly which tools I needed and how to make the dovetails.
Of course, first I practised by making test joints, which turned out acceptable, giving me some confidence in the feasibility of the task.
After that, it was a matter of carefully measuring and cutting the dovetails.
I used a Japanese pull saw and chisels for this task. Nothing too difficult, just requires a good measurement and a steady hand.
Lesson learned - never do cuts when tired. I had to re-do one side of the box three times, simply because I was already exhausted and kept making stupid mistakes.
That entire exercise - making a dovetail-joined box out of existing squared stock - took me an entire day.
Day 2
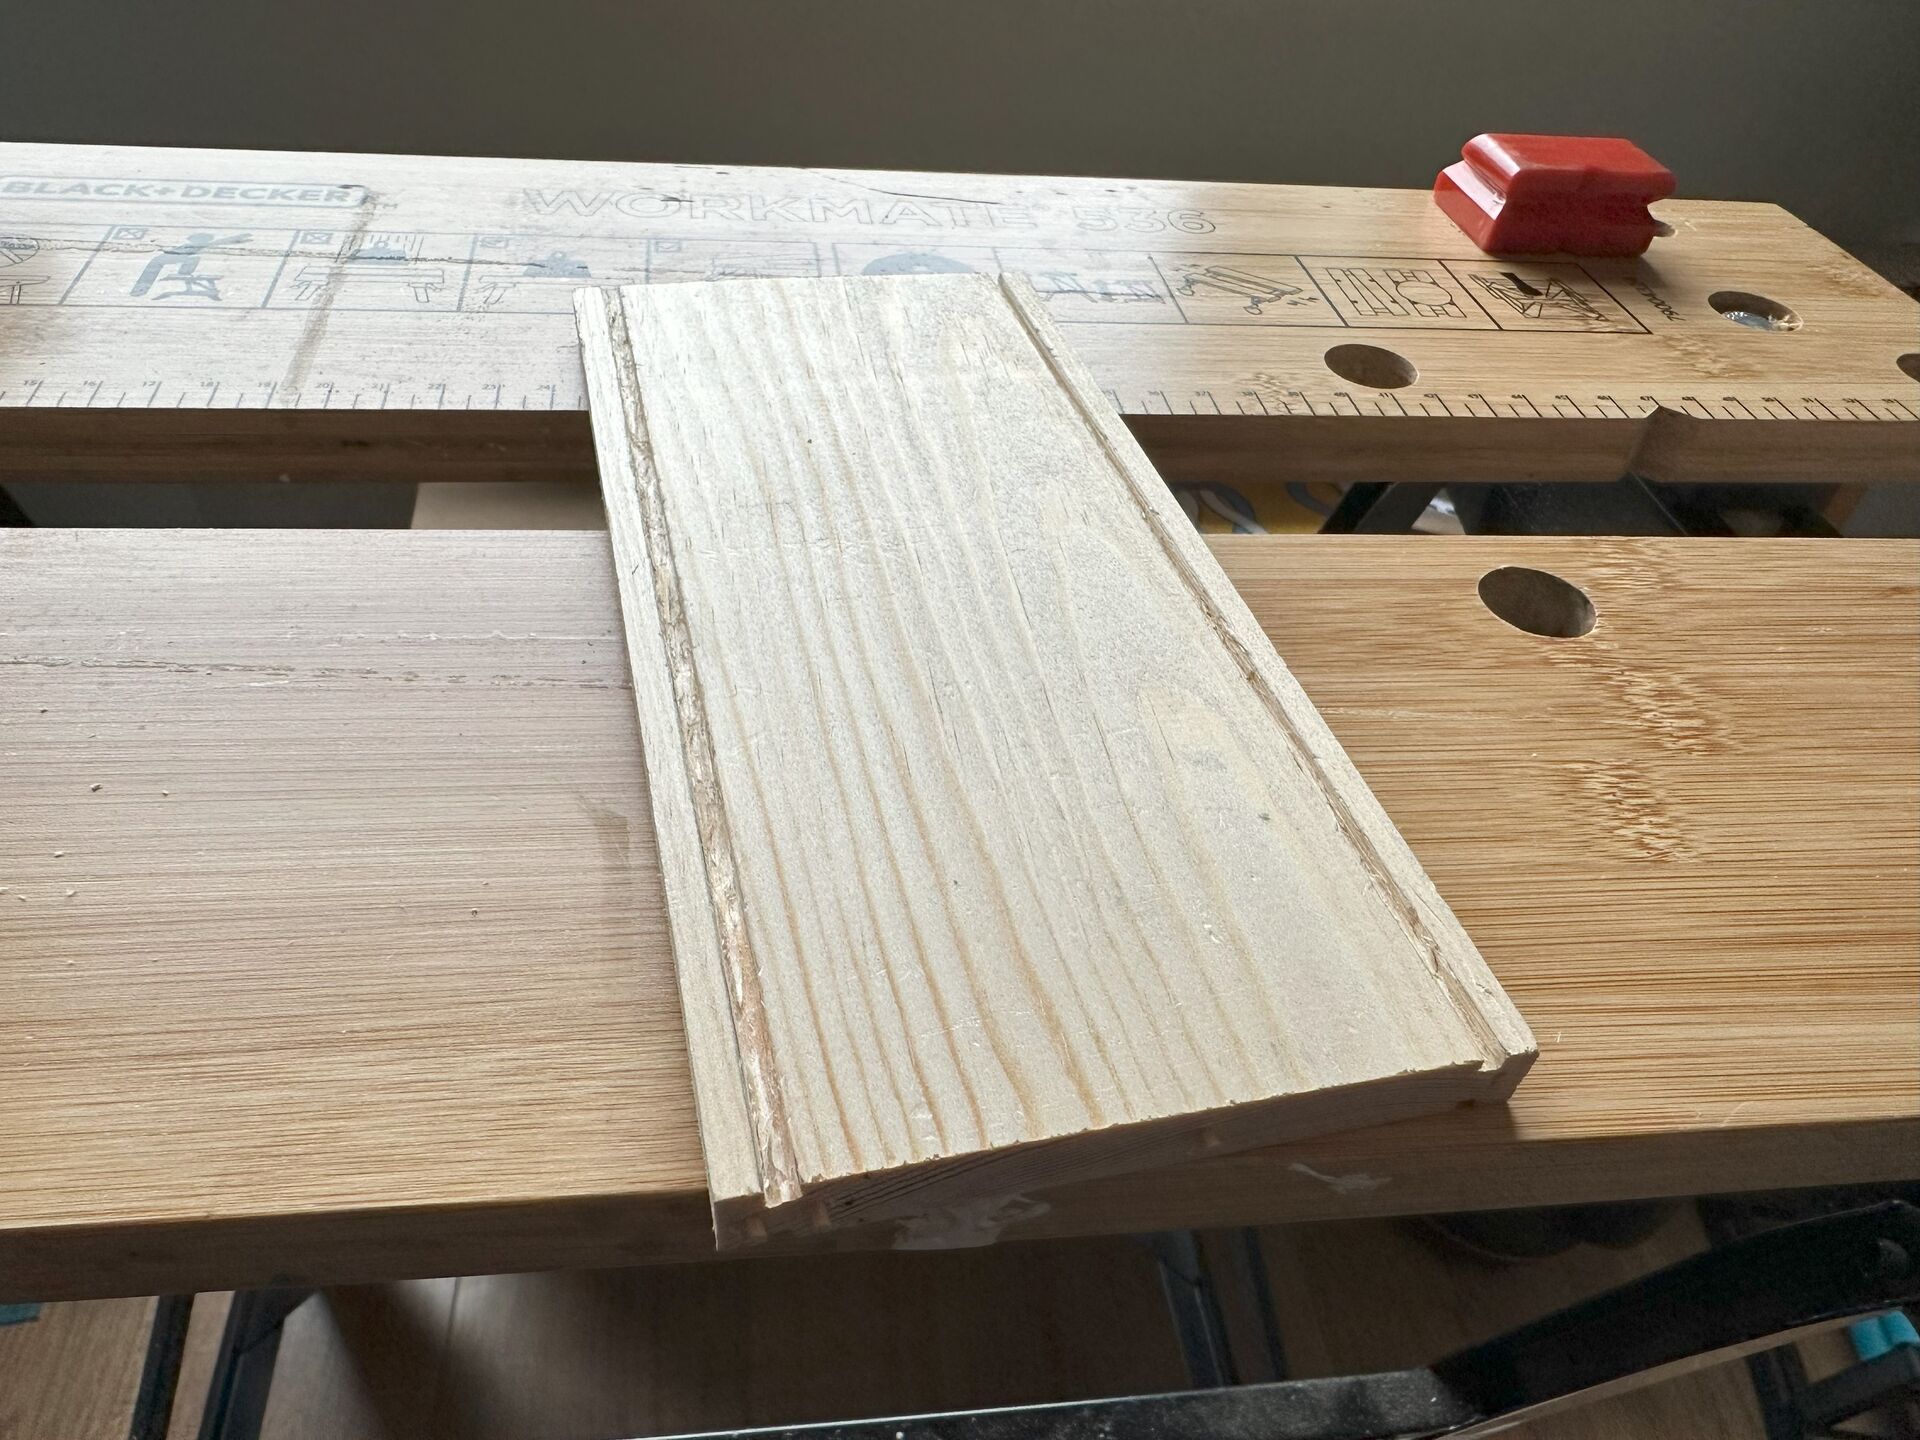
Next step was making the grooves for the floor piece and the glass. And here I hit a snag! I didn’t have a specialized plane for this, nor did I have any power tools like a router or a table saw to help with this task.
More so - I didn’t even have the chisel narrow enough to clean the grooves, either. I needed 2 mm and 3 mm grooves, and my smallest chisel was 6 mm.
So I had to improvise - cut the sides of the groove with a knife, then “excavate” the middle with a whittling knife. Very tedious and laborious, but it worked, and I managed to make the grooves in this manner, spending a full day on this task.
Lesson learned - ordered some smaller chisels.
Day 3
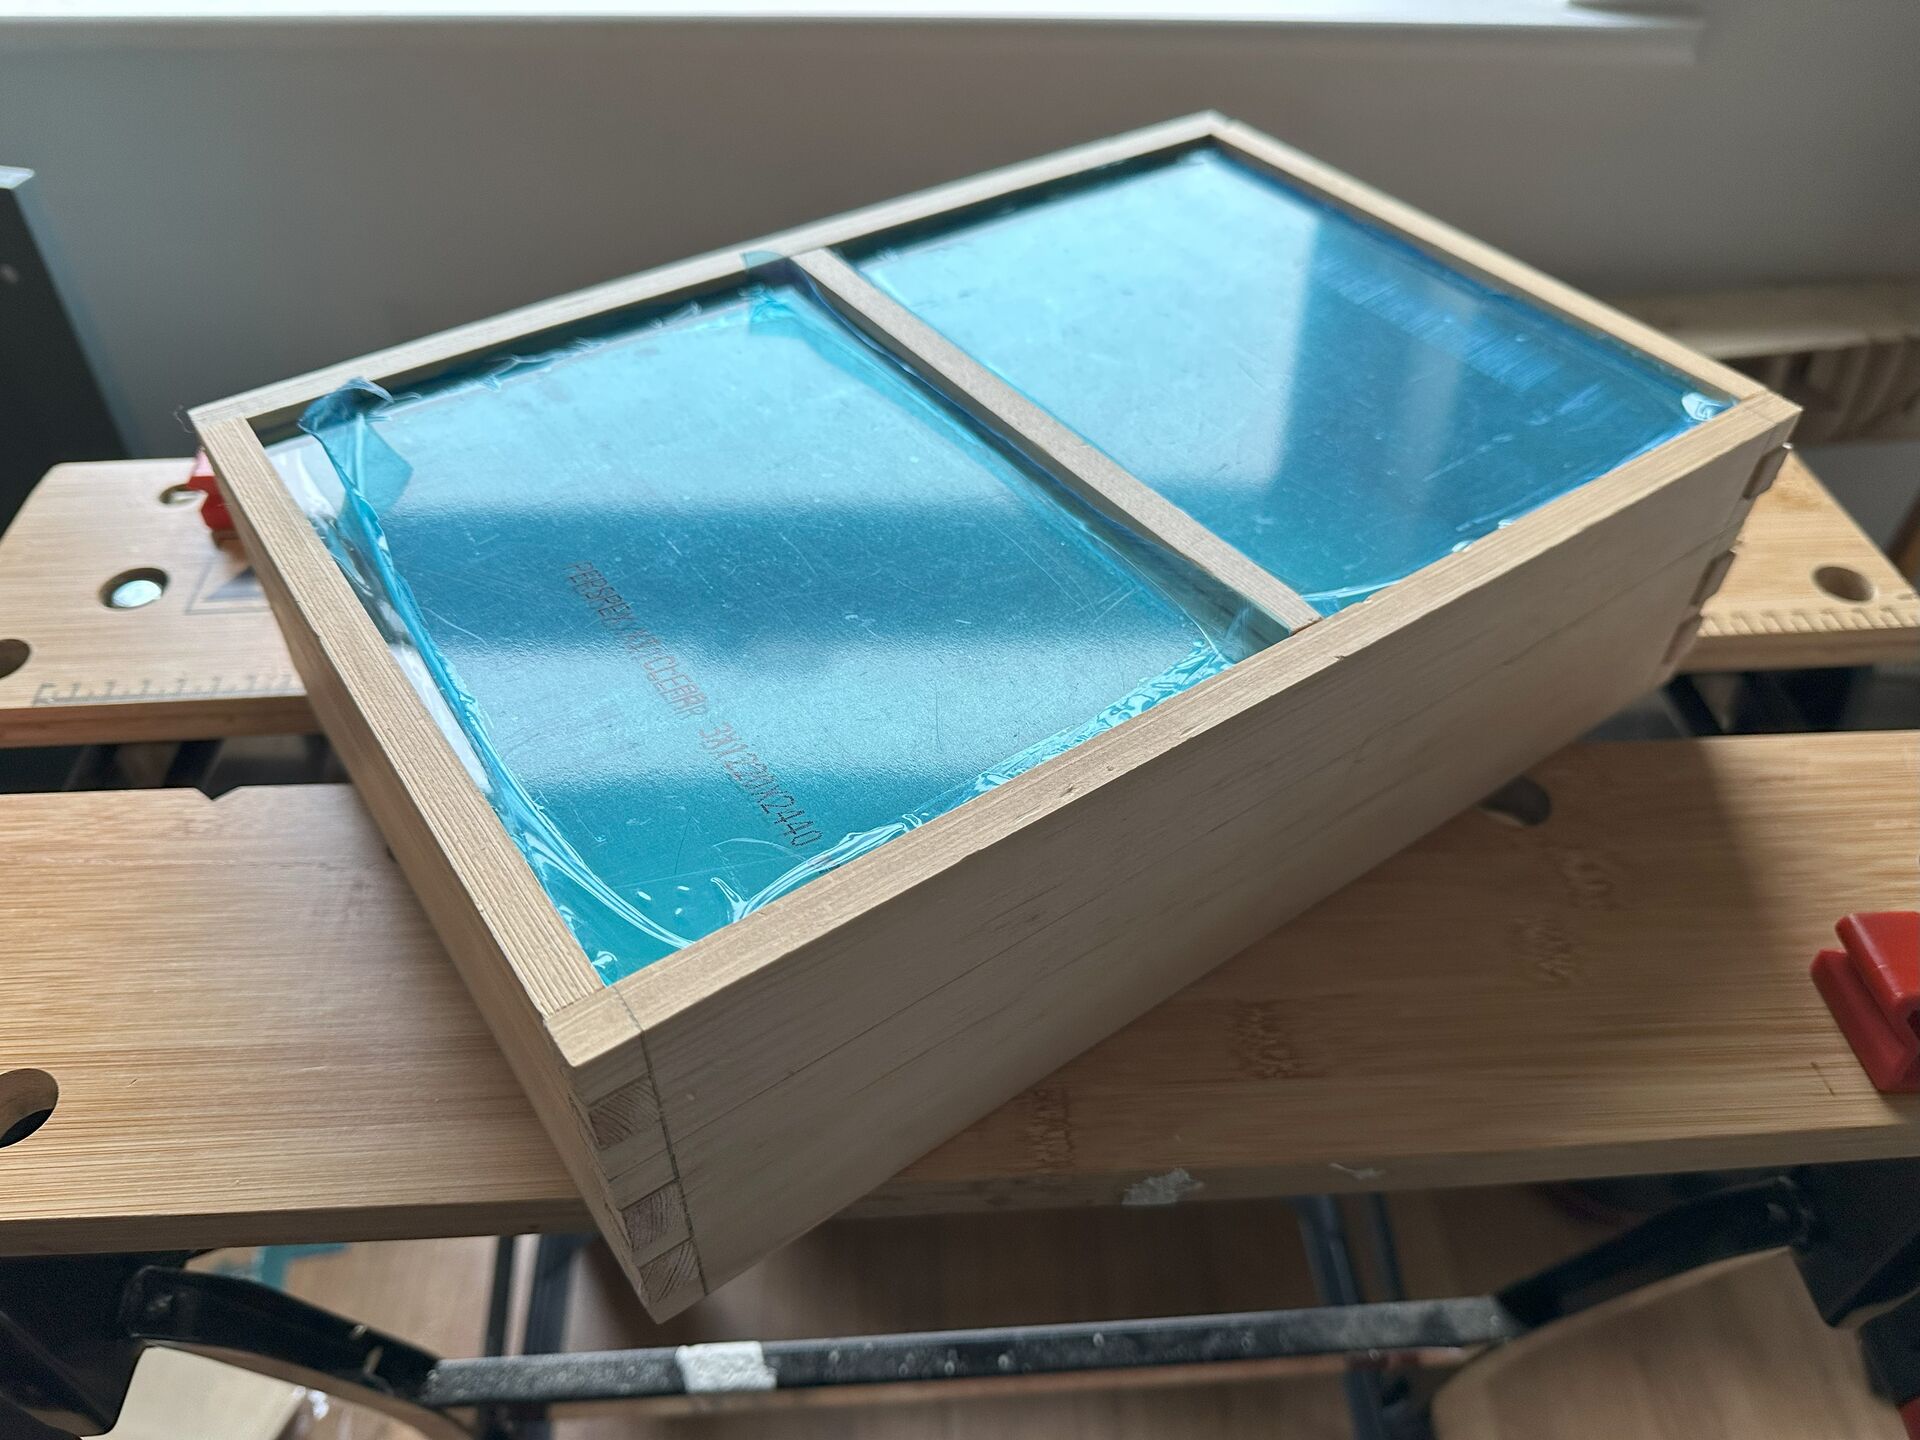
Next task was preparing the floor pieces and the plexiglass pieces.
Cutting the 2 mm plywood for the floor was super easy, used a metal ruler and a knife to score it a few times - done.
Cutting the 3 mm acrylic sheet with a coping saw was more challenging, but still doable. Used a coping saw for the task.
Cutting and fitting plus making the inner section of the box with 4 grooves took me another full day.
Day 4
Another day I spent preparing everything for the glue up.
Simply making sure everything fits together fine, and deepening the grooves where needed, took a while.
Assembled everything one least time and glued the joints with a PVA glue.
Day 5
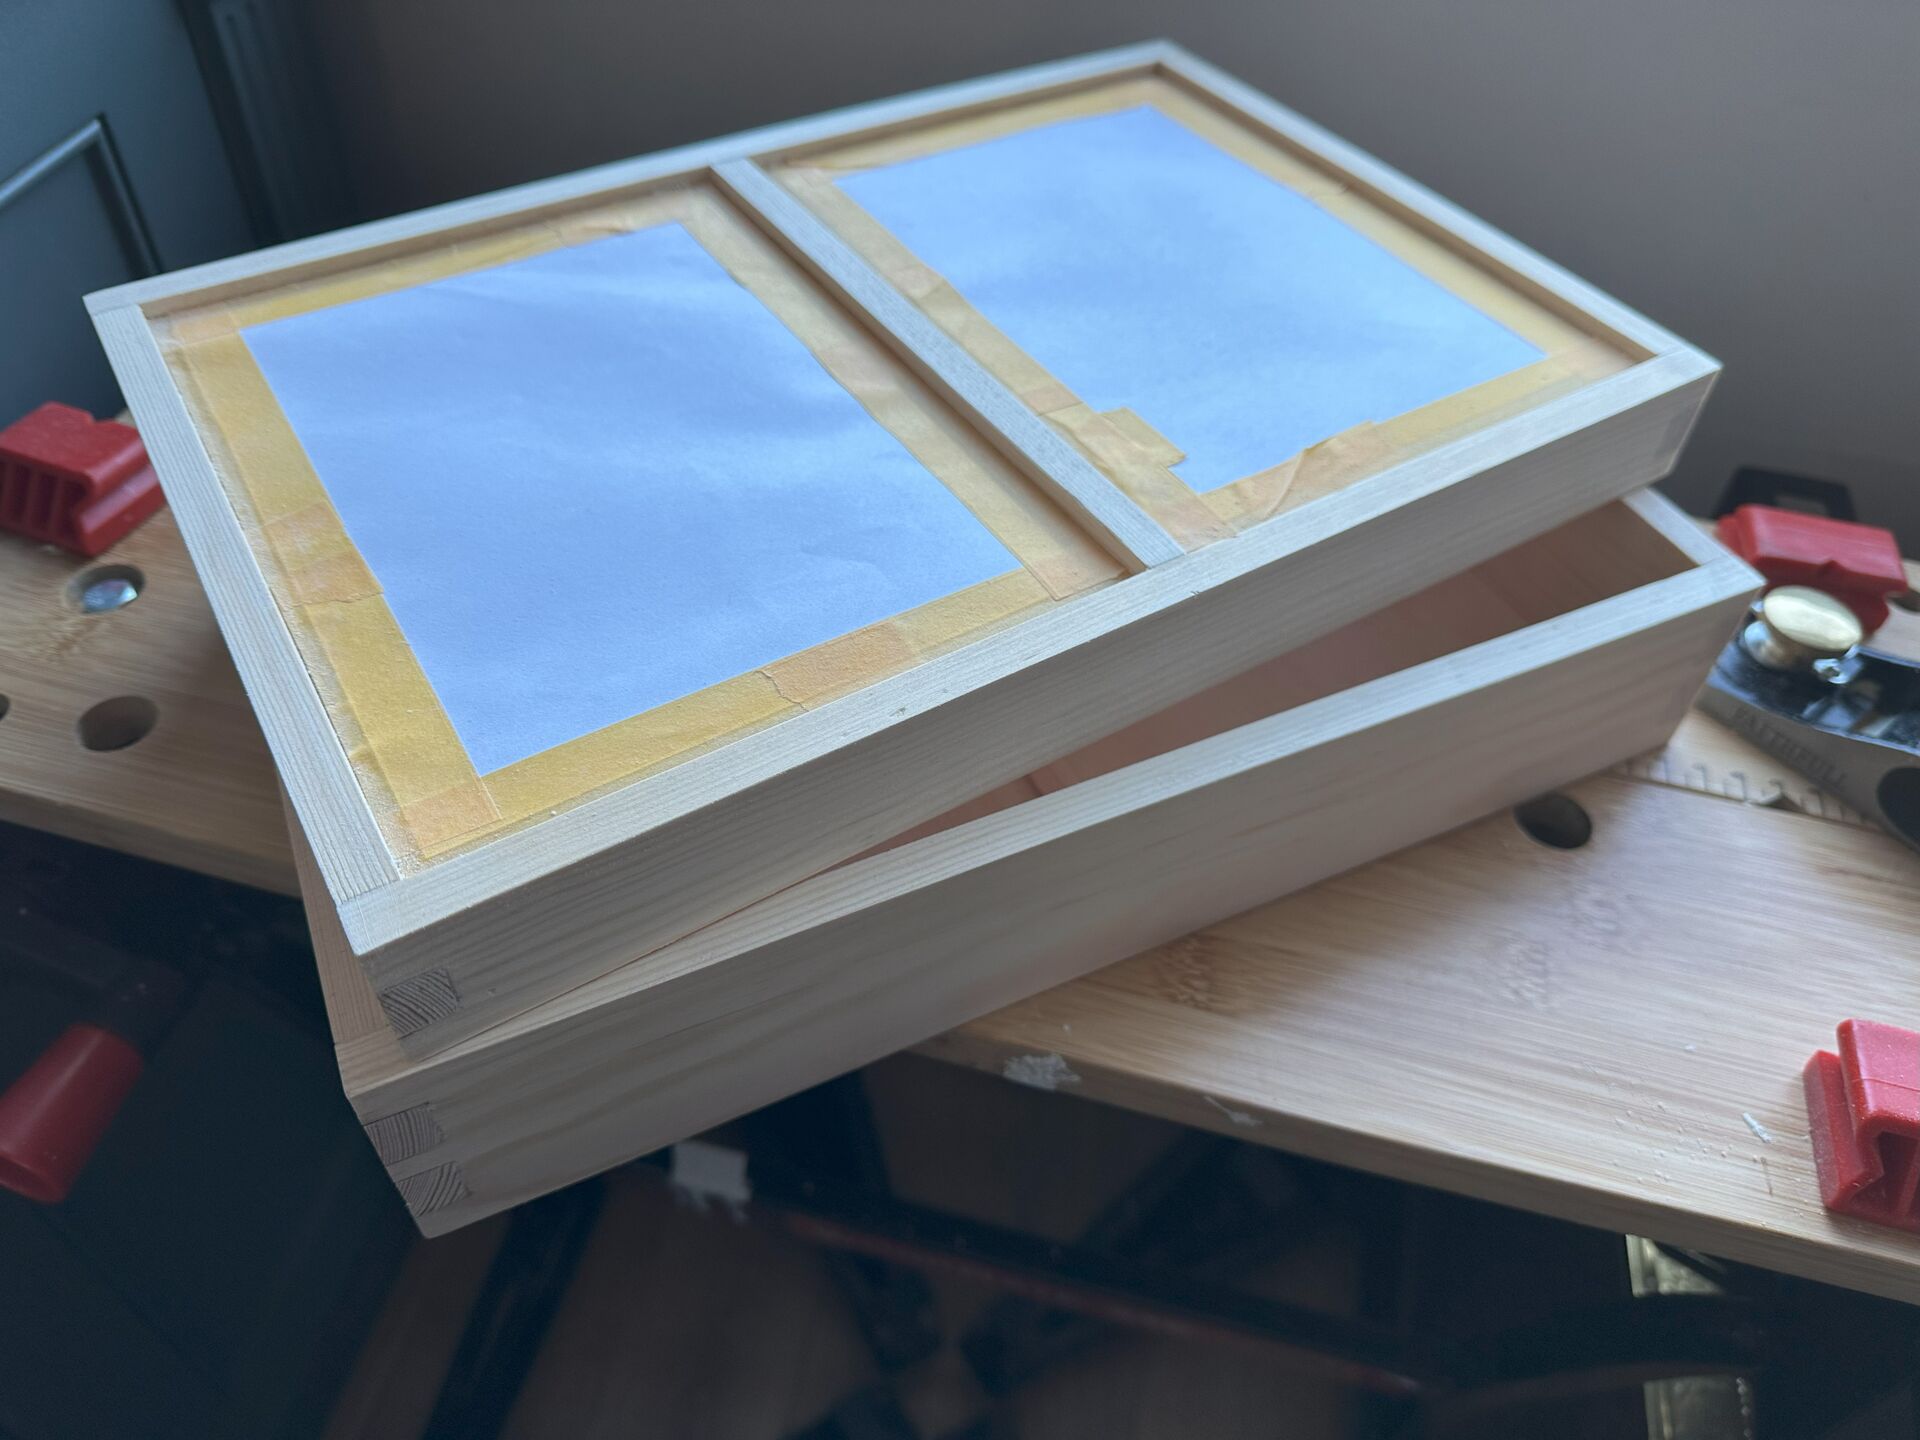
The next day I split the box into the lid and the bottom, and it was rather challenging. Required a steady hand, and at the same time it is a long cut, so my hand got pretty tired by the end of it. Used a Japanese pull saw again.
The cut turned out pretty well, and required very little planing afterwards.
Still, I got to play with my Faithfull block plane, very pleased with it.
I also took the fixtures off the old cheap box, and cut the slots for the hinges in the new box. Not hard at all, just slow, methodical work. Took me a couple of hours to do it.
In the evening, I tested various wood stains on a scrap piece of pine, to see how the finished product would look like. After presenting the test piece to my wife, we both picked ‘Medium Georgian Oak’ stain colour, I love this colour and used it before on various DIY projects.
Day 6
Next task was cleaning all the dovetails, removing the protruding parts and sanding the whole box. No surprises, just a lot of elbow grease required for this type of work.
Finally, it was time to make the inserts to separate the box into smaller sections for each watch.
I used 2 mm basswood plywood, cut it by hand using a utility knife and a metal ruler. Again, nothing difficult about it, simply taking measurements and making lots of cuts.
It worked a charm, and placing it inside the box finally gave it a finished look, quite satisfying.
Day 7
This day I only applied two coats of Danish oil.
I realized and confirmed with the experiment that I couldn’t stain the box in the assembled state.
Because I already had the plexiglass inserted in the grooves, I couldn’t apply the stain there. The inner part of the groove remains visible, since the plexiglass is fully transparent. Have I stained the box, this inside of the groove would stand out as a lighter, unstained wood.
The experiment clearly demonstrated that it looked pretty bad indeed.
That’s why I ended up only applying the oil finish.
Day 8
On the final day, I lightly sanded the box with a 400 grit sandpaper, and applied another coat of Danish oil.
Once it dried, I added the fixtures which only took a few minutes, and called the box completed.
Conclusion
Fun project overall. Had great time woodworking in 1:1 scale, used new tools, made a real watch box. Sure, it’s far from perfect, but I made it myself. Not too bad for a first real woodworking project.
At the very least, I’m using it, and the fact that it’s real wood and I made it myself makes me happy.
P.S.
I’m genuinely impressed by just how challenging and time-consuming making a simple wooden box turned out.
Eight days spent on it in total, and at least five of them were pretty much a full day of work.
Of course, part of the reason for this was my lack of experience, and part was my deliberate decision to only use hand tools.
But still, it really put into perspective just how much the methods and tools brought by the Industrial Revolution changed the manufacturing process and the world in general.